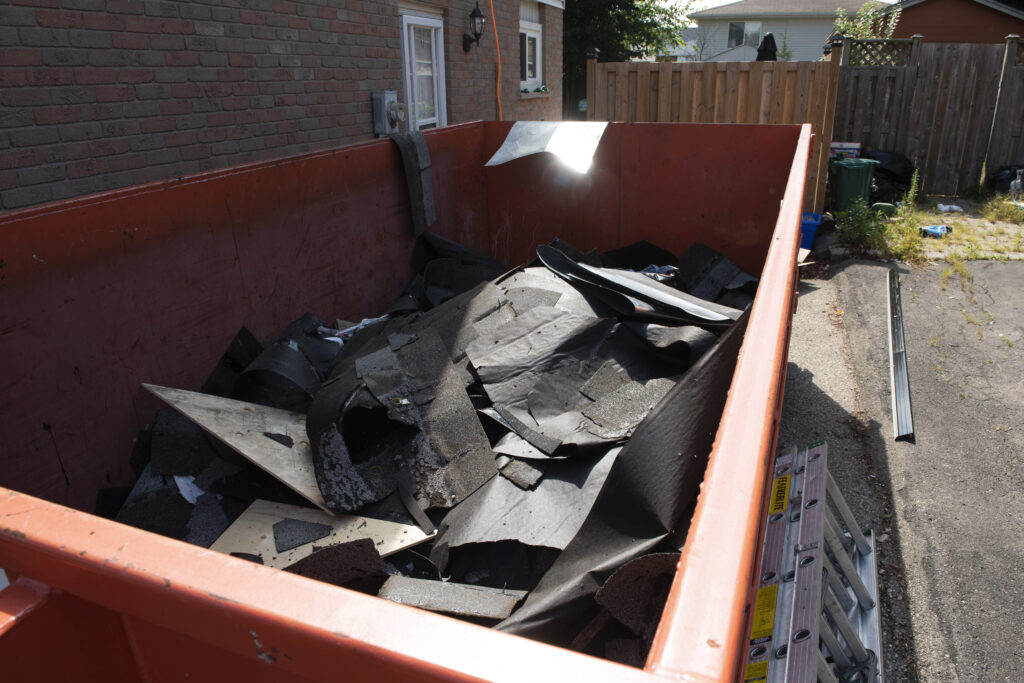
Renovating your home can be an exciting project. Still, it often comes with significant construction debris and waste. Proper waste management is essential to keep your project on track and ensure a clean and safe environment. Here are step-by-step tips on handling construction debris and waste management during your home renovation:
Step 1: Plan Ahead
Before starting your renovation, create a waste management plan. This includes:
- Estimating the Type and Amount of Waste: Identify the materials that will be discarded, such as old flooring, drywall, insulation, and packaging from new materials.
- Choosing the Right Bin: Determine the size and number of bins you need. National Bins offers a variety of sizes to suit different projects.
- Setting Up a Schedule: Plan when the bins will be delivered and picked up to ensure they are available when needed.
Step 2: Separate and Sort Waste
Sorting waste as you go can make disposal easier and more efficient. Consider setting up separate bins for:
- Recyclables: Materials like metal, glass, and certain plastics can be recycled.
- Reusable Items: Items like doors, windows, and fixtures that are in good condition can be donated or reused.
- Hazardous Waste: Properly dispose of hazardous materials such as paint, batteries, and chemicals according to local regulations.
Step 3: Rent the Right Bin
Choosing the correct bin is crucial for effective waste management. National Bins offers a range of options:
- Small Bins: Ideal for minor renovations or single-room projects.
- Medium Bins: Suitable for more extensive renovations like kitchen or bathroom remodels.
- Large Bins: Best for extensive projects involving multiple rooms or entire home renovations.
Step 4: Optimize Bin Placement
Place your bins in a convenient location that allows easy access while minimizing obstruction. Consider:
- Proximity to the Work Area: The closer the bin, the less effort it takes to dispose of waste.
- Accessibility for Pickup: Ensure that the pickup truck can easily access the bins when they are full.
Step 5: Dispose of Waste Regularly
Regular waste disposal keeps your work area clean and safe. Here’s how to manage it effectively:
- Monitor Bin Levels: Keep an eye on the fill levels of your bins to prevent overflow.
- Schedule Pickups: Arrange for regular pickups to ensure bins are emptied promptly, preventing delays in your project.
Step 6: Follow Local Regulations
Adhere to local waste disposal regulations to avoid fines and environmental harm:
- Know the Rules: Understand what can and cannot be disposed of in your bins.
- Proper Disposal of Hazardous Waste: Ensure hazardous materials are disposed of according to local guidelines.
Step 7: Consider Recycling and Reuse
Recycling and reusing materials can reduce waste and save resources:
- Recycling Services: Utilize local recycling services for metal, wood, and concrete materials.
- Donate Usable Items: Donate items in good condition to local charities or reuse centers.
Step 8: Communicate with Your Team
Ensure everyone involved in the renovation understands the waste management plan:
- Clear Instructions: Provide clear instructions on how to sort and dispose of waste.
- Regular Updates: Keep your team informed about any changes in the waste management plan.
Conclusion
Effective waste management during a home renovation keeps your project running smoothly and contributes to a cleaner and safer environment. By planning ahead, choosing the correct bins, and following these steps, you can handle construction debris efficiently and responsibly. National Bins is here to help with all your bin rental needs, ensuring your renovation project succeeds from start to finish.
